BİLEKLİK TASARIMLARI etiketine sahip kayıtlar gösteriliyor. Tüm kayıtları göster

5 Haziran 2014 Perşembe

Basitçe Yapılabilecek Birkaç Takı Tasarımı - Takı Örnekleri

I Need A Bigger Plate


I'm feeling over whelmed this beautiful Sunday.  Here it is mid-day and I have a to do list that will take 3 full days to complete.  Wha! Wha! Wha!  Making jewelry for a living isn't always perfect.  Al tho, I love every aspect of my jewelry business, there are times, like today, when I find myself wondering what happened to the well organized person!

 
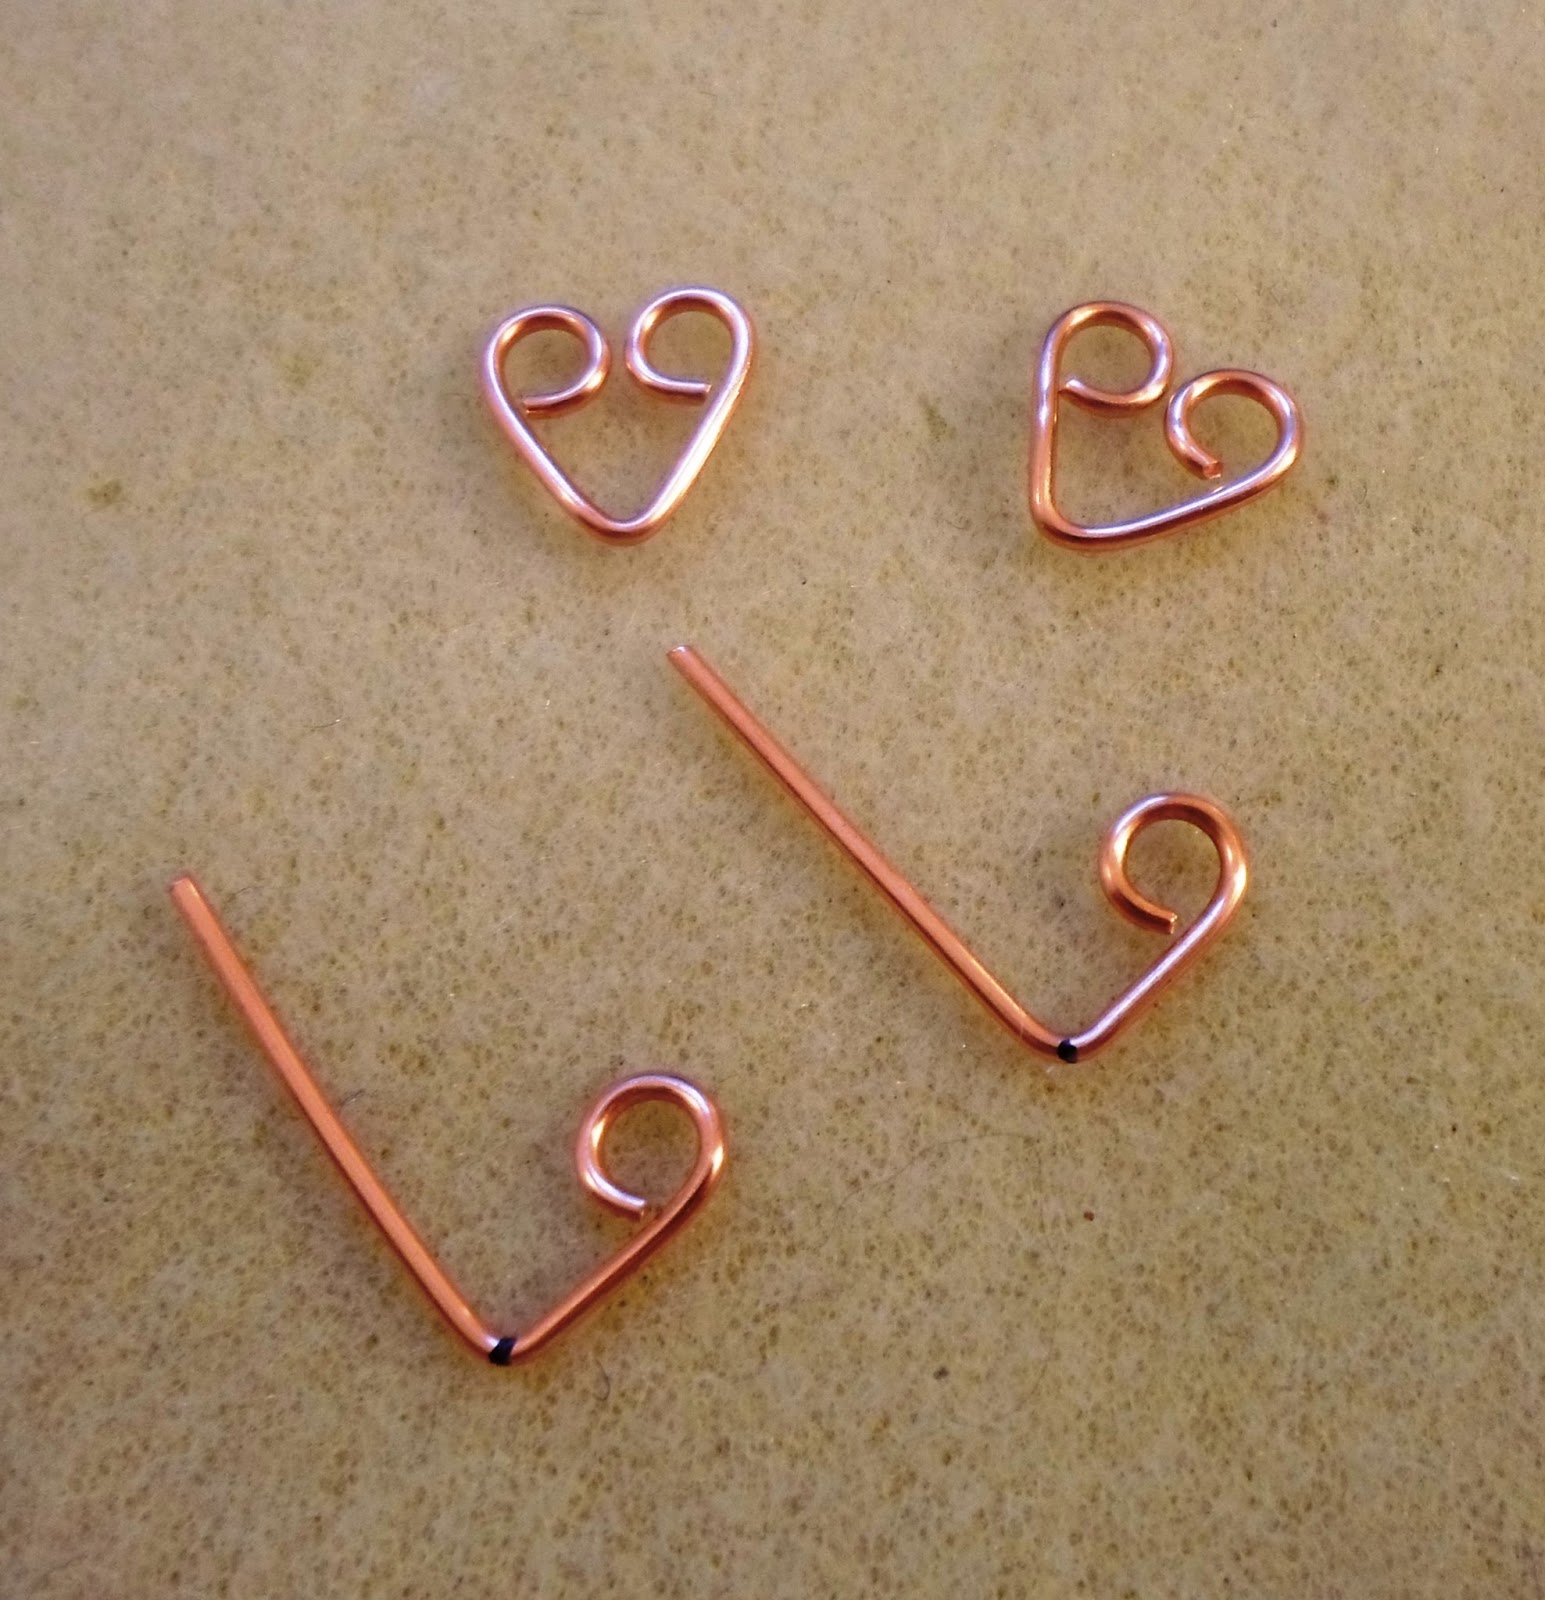
These earrings aren't listed - yet!  But they match the bracelet above.

One of the reasons for my temporary craziness is keeping up with a jewelry business and at the same time working a full time job (only during tax season).  Having a job  has been a blessing financially during the lean start up years of getting my jewelry business going.  I can say that I am now confident that I will not need to have another job next year.  But, you know what they say 'Never, ever, ever say never!'


And so, I'm rambling.  Today I've been listing new jewelry in my Etsy on line shop.  So, I need to crop the pictures, write up a description, measure each piece, log each onto my inventory log and assign an inventory number.  While I was in the midst of doing this I opened my earring storage container and it was 'EMPTY"!  Where on earth were the 29 pair of earrings that are listed?  So, in-between laundry, lunch, making soup and cleaning the kitchen I was in a panic looking for the earrings.  I keep everything organized and labeled and it just didn't make any sense.  I finally found the earrings in the wrong container and sitting on my desk.  I had forgotten I needed to confirm that all the earrings were  indeed listed.  It turns out I have yet another time eater on my plate.  There are 18 pairs of earrings that haven't been listed.  Yikes!  I wonder if I took pictures or if that's something else that needs to be done.  To tell you the truth I will be putting a note on this pile of earrings, as a reminder, and leaving them for another time.


Besides working full time and keeping up with my jewelry, I have a couple big projects on my plate.  I'll go into more detail in a future blog post, but for today I must get back to the laundry and a 2nd pot of soup that needs to be made.  Part of my plate is filled with a diet to eat healthier and to trim down.  I'm being successful with the weight loss and yesterday I actually had to buy a smaller size of jeans.  All of this is good, but it does take focus and time.  Now I must stop whining!


I have added pictures throughout this blog post, of some of the new jewelry that has been created.  Most of it is in my on-line shop and if you want to see more pictures, you'll see them there.  As time permits (chuckle!) I'll write more about jewelry and post pictures.  I know things will return to normal soon.

 
These earrings aren't listed - yet!  But, they match the bracelet above.

In the meantime, remember that spring is right around the corner.  Only 25 days!  And sooner than that we will be turning our clocks forward to add some extra sunshine into our days!

Did I tell you I'm moving?  Yep!  So my studio is full of boxes.  More details will be written soon.

Have a beautiful day!

Linda

Adım ADım Bileklik Yapımı - Bakır Düzleme ve Boyama - Takı Tasarımı Teknikleri

Creating in the Myst of Chaos

This is the actual color of the bracelet, jade green.  Some of the pictures below show it as blue, but that is because I took some of them during my work process and not in natural light.

I was going through jewelry creating withdrawal symptoms.  There's still so much to do to get ready for my move.  There are boxes taped and stacked, pictures and mirrors wrapped, yet, there is more to do.  The stress of an incomplete task was making me cranky and restless.  So I decided to take today as a vacation day.  Yes, I dug out my tools and materials and escaped the chaos of my home transition.  Here are lots and lots of pictures of my days escape and an overview of my process.

I decided I wanted to create a new link for the beads on a bracelet.  This picture shows how a slight variation in the length of wire, yet the same mandrel, can create different results.  The link to the left is very round, the center is closer to the teardrop shape I was aiming for, and finally with a smaller connection link I achieved what I was wanting. 
Then I experimented with the original round wire and then a hammered wire.  I decided the hammered wire link had a nicer appearance.
The next experiment was to hammer the top smaller loop.  I like this result. 
The easiest way to achieve the top loop being hammered is to hammer it in the straight stage (top of picture) 
After I completed the shape I hammered the bottom portion of each link.
After all of the connector links were made I began wire wrapping the Swarovski pearls.
 Wrap, wrap, wrap.
I made a clasp, spiral charm and small pear drop.  This is the bracelet in the raw copper stage.
I then oxidized the bracelet and the other pieces I made today.  Here is a picture of the bracelet in the oxidation stage, but it hasn't been polished.
Here's the bracelet with after all of the rubbing to remove the excess patina and polished in it's final stage.
These are earrings to compliment the bracelet, still incomplete.  They need to be polished, tumbled and ear wire added to them.
Today, I started with these earrings as a project.  I think they will be great once I polished, tumble and add ear wires. 
I experimented with a Herringbone Weave for some adjustable rings.  I can't wait to see them polished and tumbled.
This style ring is a staple on my display.  The ladies love these simple rings.  Of course they look much better once polished and tumbled. 
 I don't plan on getting rich with my little business, but I do plan to have continued fun.  It takes so long to get a piece of jewelry completed and ready to be sold.  I think I make minimum wage, or at least I hope I do.
 
A group picture. At the end of day one I made quite a bit of jewelry. I'll put the finishing touches on them tomorrow. They still need to be buffed, polished, tumbled, photographed, with descriptions written, and posted in my on line shop.
 
After the bracelet has been oxidized (and turned black) the excess must be removed with fine steel wool.
Half way there...rub, rub, rub...
Rub, Rub, Rub 
 
Finally, the excess has been removed.  Now it goes into the tumbler for about 45 minutes to work harden the wire and give it a final polishing.  Then more pictures of the final bracelet, so it can be listed for sale in my on line shop at www.lindasinish.etsy.com.
 
And, finally it's listed for sale here.
 
Now, I've got to get back to packing and sorting.  I'm hoping that the settlement date for the sale of my current home will be scheduled soon. 
 
Thank you for visiting my blog.
 
Have a joy filled and creative day,
 
Linda

Anlatımlı Bir Bilektlik Tasarımı Adım Adım Yapılış - Anlatımlı Bileklik Tasarımı

Mad Scientist In Her Lab

Lots of pictures and few words today.

Both of these bracelets are now listed in my on line shop.

The other day I posted some of the steps to make a jade colored Swarovski pearl and hammered link copper wire bracelet.  I began to think...what if I used twisted wire and that lead me to change my bead to a petrol colored Swarovski pearl.  Then of course, I needed to take pictures of some of the steps.

First, I needed to make some twisted wire.  Since my power drill is packed away, ready for the move, I used my handy dandy hand drill.
Hold on tight to the end to keep the wire tight until it snaps off at the drill end.
 Here's a comparison of the new twisted wire link to the original bracelet hammered wire link.
 
The next step is to connect the links with wrapped beads.

The entire bracelet is oxidized to a dark black color.
Then the tedious task of removing the excess oxidation.
Dirty hands and work area results in a polished bracelet. 
 Into the tumbler to work harden the wire and buff any sharp ends.
 Here's the jewelery merry go around, aka the tumbler.
 After 45 minutes in the tumbler the contents are drained into a stainer and rinsed.
 
Finally the experiment is completed and I am satisfied and it's listed for sale in my on line shopwww.lindasinish.etsy.com
 I think I might like this bracelet more than the original hammered link bracelet.
 

My next blog or two might be far apart, since I'll be busy moving.  But I'll catch up soon and post some pictures of my new studio.  It could be two or even three weeks.
 
Thank you for visiting my blog.
 
Have a joy filled and creative day,
 
Linda

Bileklik Nasıl Yapılır - Anlatımlı Bileklik Tasarımı - El Yapımı Bileklik Anlatımlı

Wearing My Heart On My Sleeve Bracelet Tutorial


Many years ago I saw a picture of a bracelet made of many wire hearts linked together, similar to chain maille.  I believe it was made from 14 or even 12 gauge wire and I believe it was a piece by Lynn Merchant.  Then my friend Jeanette Blix made a version of the bracelet.  I had bracelet envy.  I made my own version using 18 gauge wire.  It was okay, but not magnificent, even tho I received many compliments. I decided, once again, to make this bracelet, but this time I used 16 gauge wire.  I like the result.  Maybe, just maybe, one day I'll tackle this project in even heavier wire.

For those of you who would like to make this bracelet, I'll do my best to write the tutorial.  Please let me know if you have any questions.

 
Use your heavy duty flush cutters for 16 gauge wire.  This heavier wire will damage your regular flush cutter and that will make you very sad.

 
Use 16 gauge dead soft copper wire.  Flush cut 40 pieces, each 2" long.  After they are cut, I like to line up several together. Or, you can do the next step individually.
 
 
I hold the pieces or piece in place with my non-dominate hand.

 
Use a Sharpie to mark the middle of each piece.

 
Place the blade of the flat nose pliers next to the mark.  Place your thumb of your non-dominate hand on the wire close to the pliers and push up to form a 90 degree angle.
 
 
Here's your shape.
 
 
Now repeat, until all of your 2" wires are bent.
 
 
Place the very tip of a wire in the back of your round nose pliers.

 
Turn your hand to form a complete circle. Hold your thumb of your non-dominate hand on the wire close to the pliers and apply pressure to create a tight uniform circle.

 
 Here's what you will have ~ Sorry about the blurr.

 
Go ahead and get all of your links started.
  
 
Use the back of your round nose pliers to make loops on (only) two of your links to form 2 hearts.  Take your flat nose pliers and use them to flatten and align your first 2 hearts.


Align one heart on top of the second heart.

 
Pick up a 3rd link and thread it through the loops of the 2 formed hearts.

 
Use the back of your round nose pliers to form the 3rd heart.  Align the heart with your flat nose pliers.

 
Pick up your 4th link and thread it through the loops on the opposite side of the first set of hearts.

 
Use the back of the round nose pliers to make the finishing loop to form your 4th heart.  Use the flat nose pliers to align the wire.

 
Here is a picture of your 1st 4 hearts, aka 2 sets of hearts.

 
Now just keep repeating the process.
 
 
 Here's another picture of how 3 sets of hearts are linked together.


Once you have completed your chain, add 2 jump rings, one through each set of  heart loops.  Then add a 3rd jump ring to join these 2 jump rings into a triangle.  This 3rd jump ring will be used to connect your clasp.
 
Add one or several jump rings on the other end of your chain.
 
If you have used copper wire, you can leave as is, or apply liver of sulfur to give it a warm aged look.
 
Perhaps my next bracelet will be made from silver wire or bronze wire, or, or, or...
 
Thank you for visiting my blog.  I hope that you have enjoyed this tutorial.
 
Have a joy filled and creative day ~ Linda